Designing the Best Quick Check-in Solution with Standard
When setting up a solution that works best for your institution, most of the time the ability to quickly check in a large number of visitors is one of the primary goals. Setting up this solution starts from designing a badge that is easily read, and ends with setting up as many automatic systems that you want, while still maintaining the security of your facility.
Designing the Best Quick Check-in Solution
When designing your card, we recommend keeping the card as simple and easy to read as possible. While a simple badge is easier to replicate, AlphaCard Visitor Pass will always allow you to cross reference the badge with the database.
For a simple check in solution, the best items to include on a visitor badge are:
- First Name
- Last Name
- Photo
- Logo
- Barcode Identification
- Visitor Tag (if required)
Unless your facility requires additional information on your visitor badges these type of badges benefit from being easy to read from a distance, being immediately identifiable as the correct badge, and identifies through the photo the visitor who should be in possession of the badge.
In addition to a clear card design, we also recommend setting up and using the automatic search and check-in functionality of barcodes.
To setup and use this feature, please consult:
Setting Up Barcode Automatic Check In with Standard
How to Use Barcode Automatic Check in with Standard
Both of those articles will assist in getting the barcode functionality up and working.
There are also additional steps you can take to customize the automatic check in process.
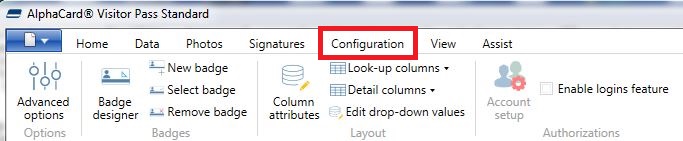
- For the quickest and easiest check in process, go to the Configuration tab.
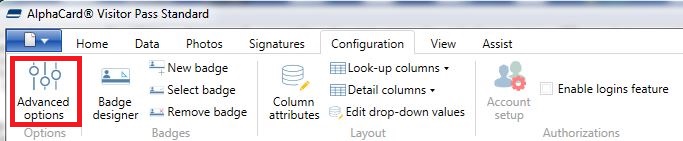
- Click on Advanced Options.
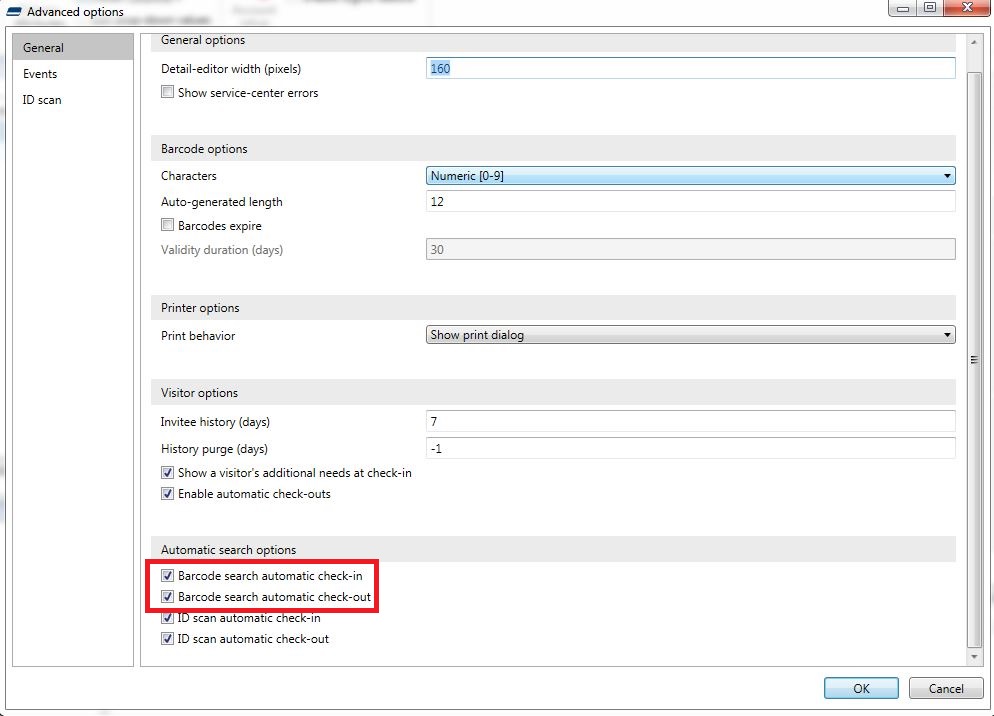
- Under the general tab, check the boxes for both automatic barcode check in and barcode check out. AlphaCard Visitor Pass in this scenario will scan the barcode, find the appropriate visitor record in your database, and check that visitor in.
How to Create a More Hands-on Check In
However, this option does not give the user a way to ensure the visitor checking in is the correct visitor. There are two other options for automatic barcode check-ins that do give more user control over the process.
The first would give user control depending on how the visitor is attempting to check in. If you use events, you can force any visitors checking in outside of event registration to be confirmed individually. IF you do not use events, this will force every check in to be confirmed by the user.
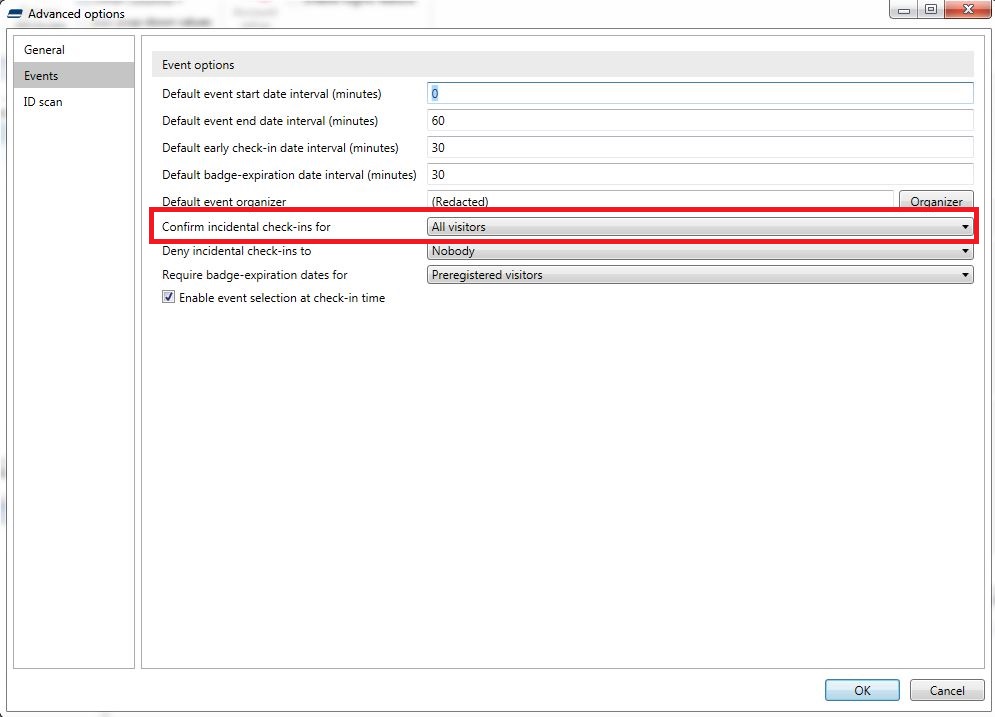
- To do this, go to the events tab of the advanced options screen.
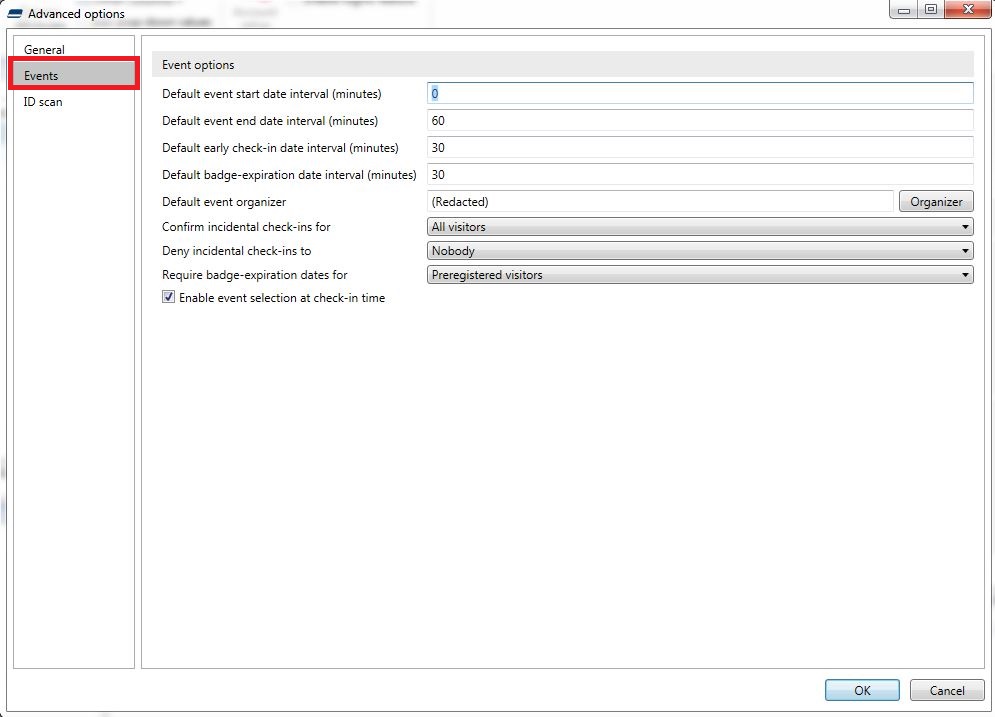
- Then set the confirm incidental check-ins for drop down box to All Visitors
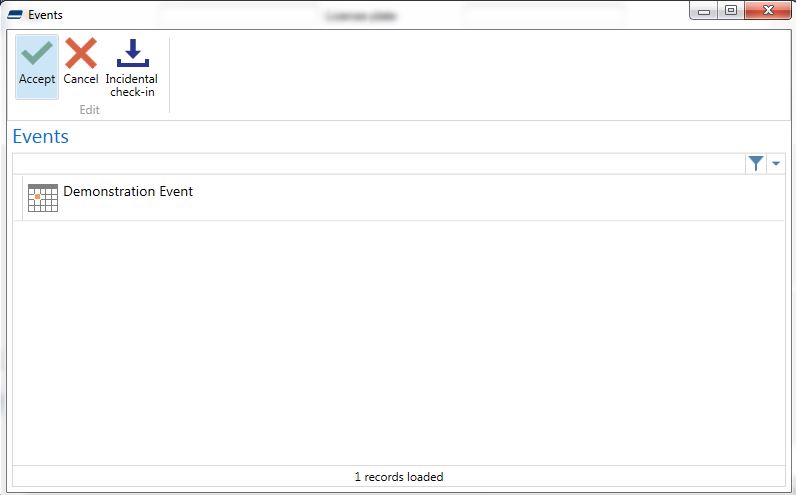
- When checking in a visitor that is not registered to an event, the following page will be displayed:
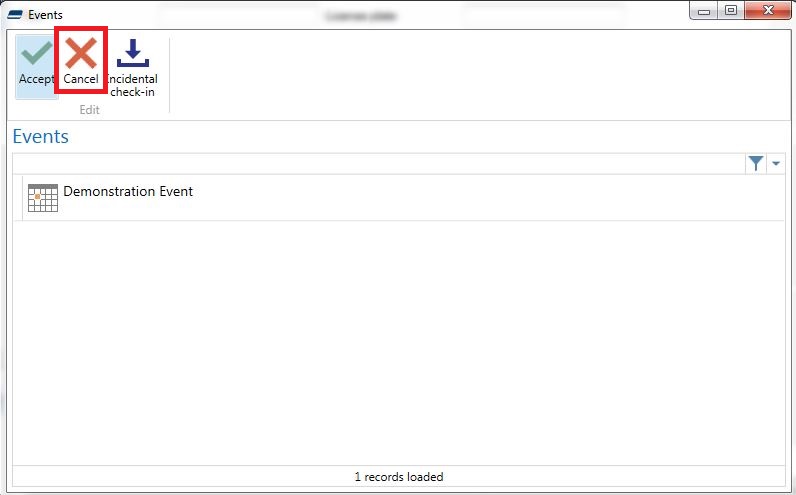
- If the user wants to deny check in for the visitor, simply hit the cancel button.
The second way to increase security is to turn off the ability for the barcode scan to automatically check in a visitor. The scan itself by default is always enabled, so the visitor record will be pulled up upon a successful scan, but all further action will have to be manually taken.
- To do so, go to the configuration tab within the software
- Click on advanced options.
- On the general tab, uncheck the option for automatic check in or out, depending on your needs.
- This will allow the user checking in visitors to inspect the database, and ensure that the visitor matches all the information contained within the Visitor Pass database.
While these two options do slow down the check in process, they are also highly useful for keeping security at a higher level.
If you continue to experience problems, or have questions about your AlphaCard Visitor Pass software, please contact AlphaCard technical support.