Setting Up Kiosk
AlphaCard Visitor Pass Kiosk in and of itself does not contain a database or any way to check visitors in and out – it relies completely on a connection to the central AlphaCard Visitor Pass Secure license to manipulate the existing database for all of its actions. This article will walk you through setting up that connection.
Setting Up AlphaCard Visitor Pass Kiosk
AlphaCard Visitor Pass Kiosk requires changing two sections of the configuration files to connect to the database. One opens the connection to the server, and the second directly connects to the database that your central station of AlphaCard Visitor Pass Secure is using.
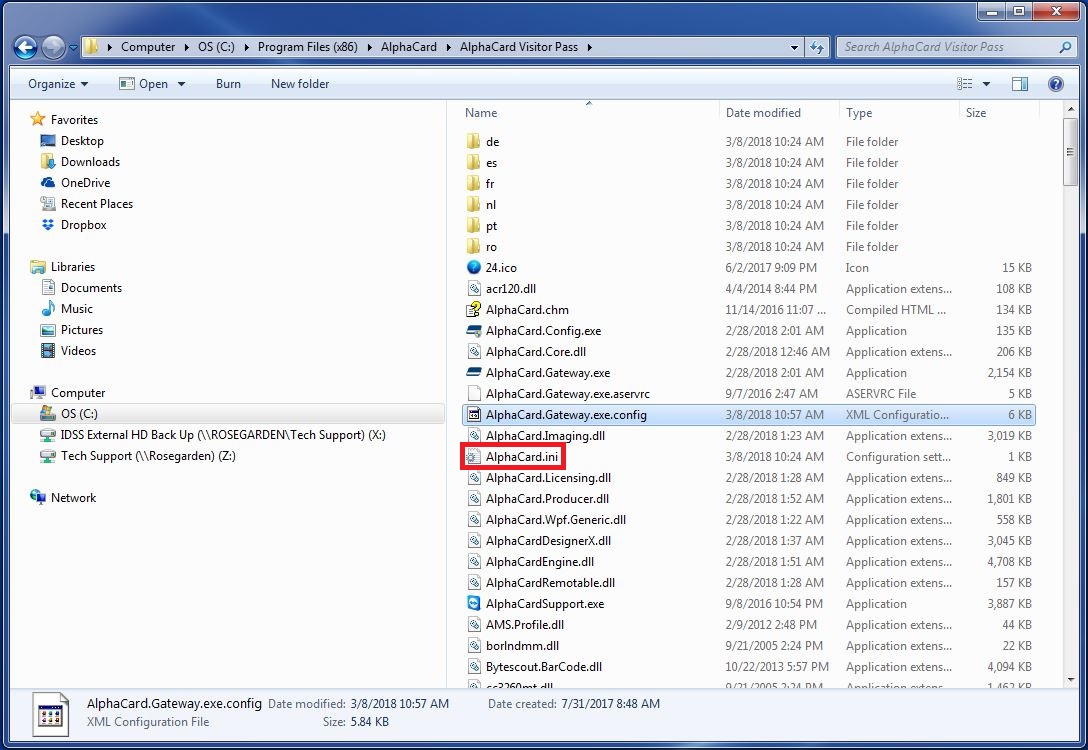
- To begin, go to C:\Program Files (x86)\AlphaCard\AlphaCard Visitor Pass. This is the default installation location for the Kiosk configuration files.

- In this folder open up the AlphaCard.ini file.
- Locate the line for DataDirectory.
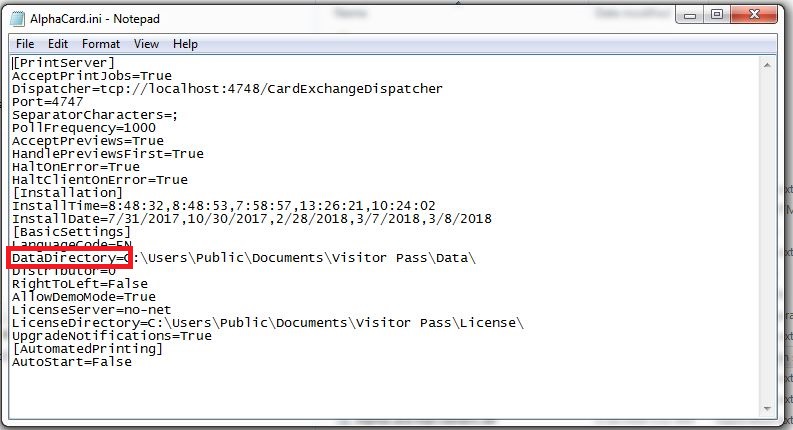
- Replace this line with the location of the shared Data folder in AlphaCard Visitor Pass Secure.
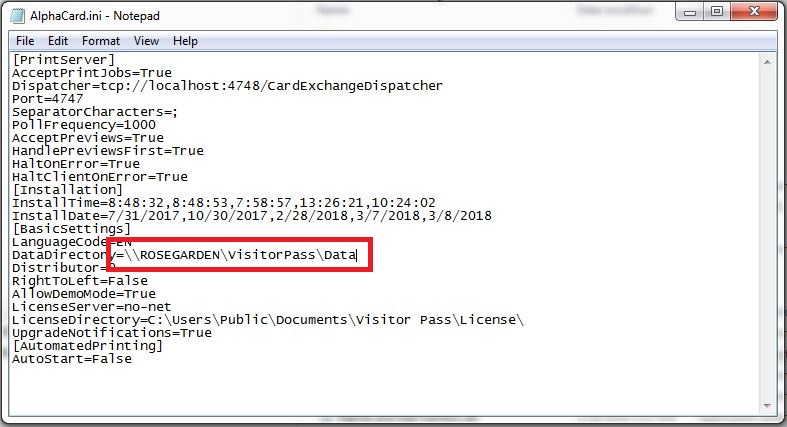
- Once that is done, save the AlphaCard.ini file.
- Drag the file AlphaCard.Gateway.exe.config onto the file AlphaCard.Config.exe.

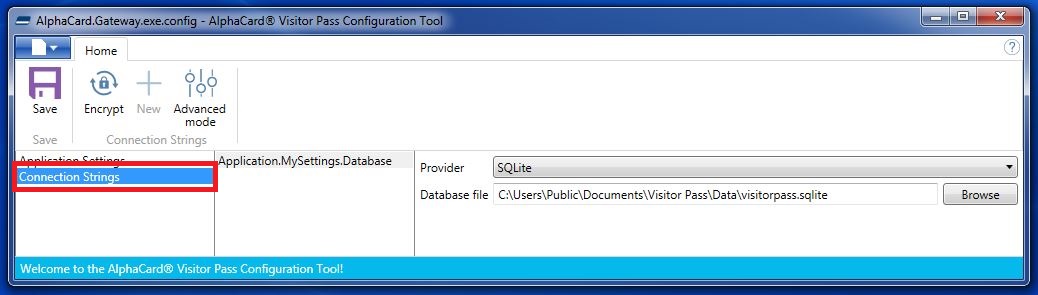
- This will open a window to edit the path AlphaCard Visitor Pass Kiosk is looking for the database in.
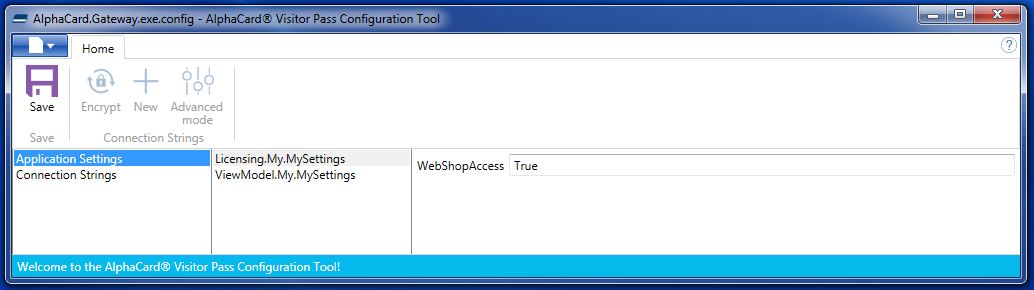
- Click On Connection Strings in the left hand column.
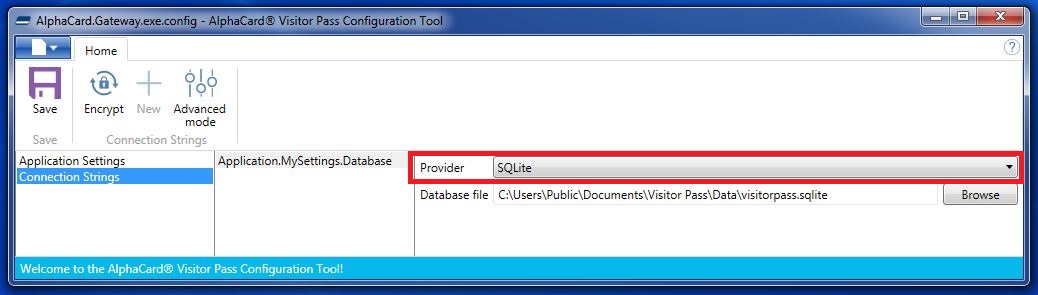
- Change the Provider to match the database type your AlphaCard Visitor Pass Secure is using.
- Browse to the location of the database.
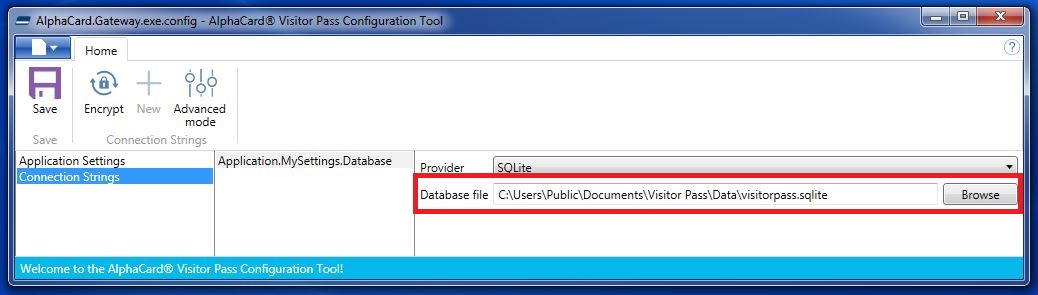
- Click the save button.

At this point, AlphaCard Visitor Pass Kiosk will be connected to the database that your AlphaCard Visitor Pass Secure is using and as such can now check people in and out. All changes made to your database will affect all copies of AlphaCard Visitor Pass using the same database.
If you continue to experience problems, or have questions about your AlphaCard Visitor Pass software, please contact AlphaCard technical support.