How to Add an External Database to an Existing Design
This guide will walk you through the process of adding an external database to an existing card design. There are two parts to this process – connecting your external database, and mapping your database fields to the card’s variable objects.
Please note: You can only connect an external database in AlphaCard ID Suite Standard, Professional, and Elite editions.
Connecting your External Database
- Select the Configuration tab.

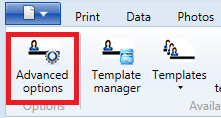
- Select Advanced Options.
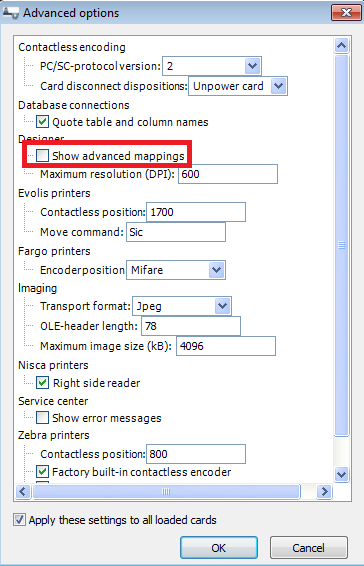
- Check the Show Advanced Mappings box, then click OK.
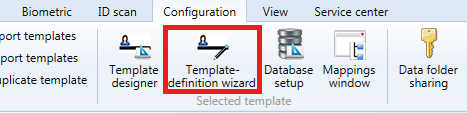
- Select the Template Definition Wizard.
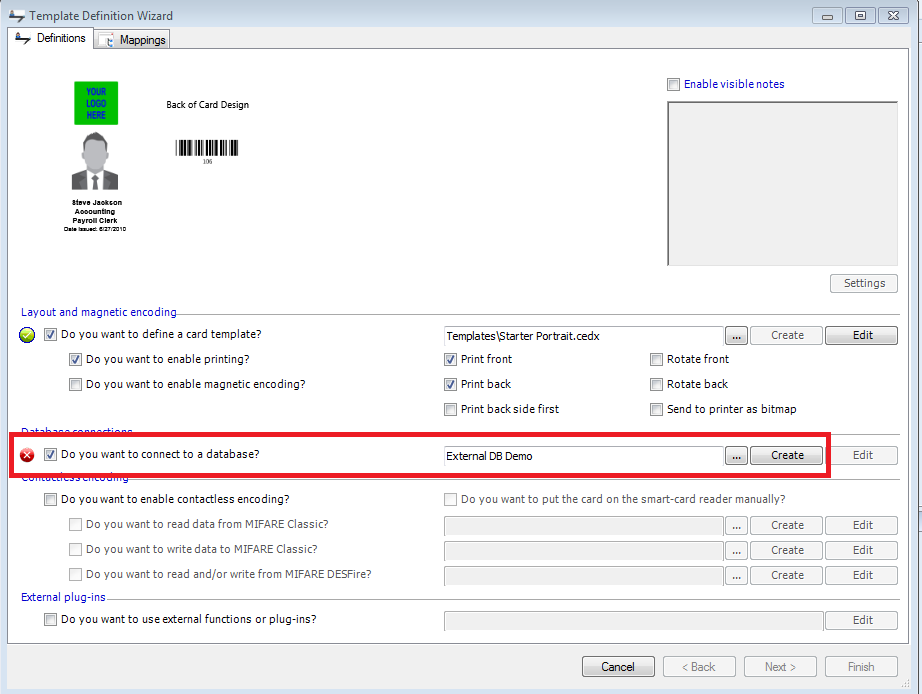
- Make sure the Do You Want to Connect to a Database box is checked. Then erase the name of the existing database in that field and type your own (this can be anything you want). Click Create.
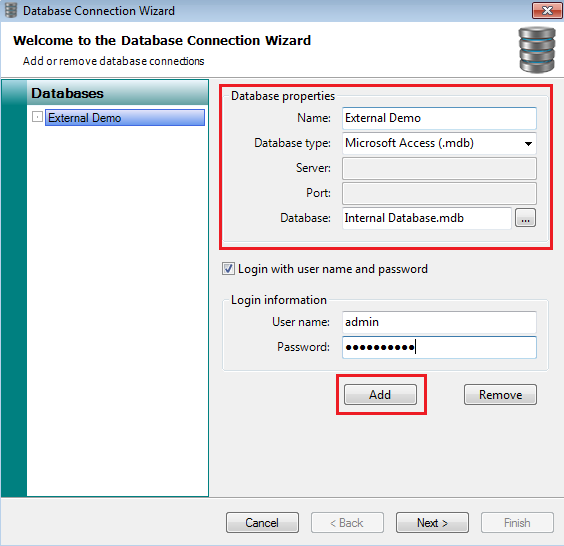
- Click Add and then fill out the information for your database. The name can be anything you want, but be very careful to select the correct Database Type. Once you have selected the database type, use the ellipsis (…) to browse to the database you want to import. Please Note: If you change the name of the database, or move it, you will have to re-import the database. Once you have added the database, click Next.
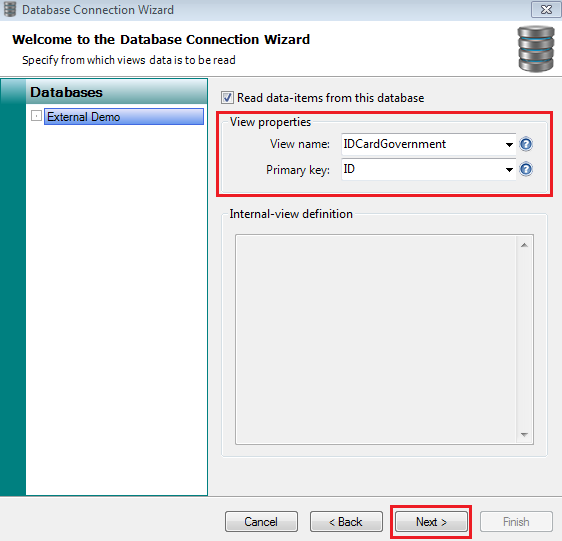
- Select the View Name from the first dropdown list (this is the tab/table/sheet/view you want to use from your database). Then select the Primary Key from the second dropdown list. This should be a field that is unique to every record and works best if if is numeric, like an employee’s ID number. Click Next.
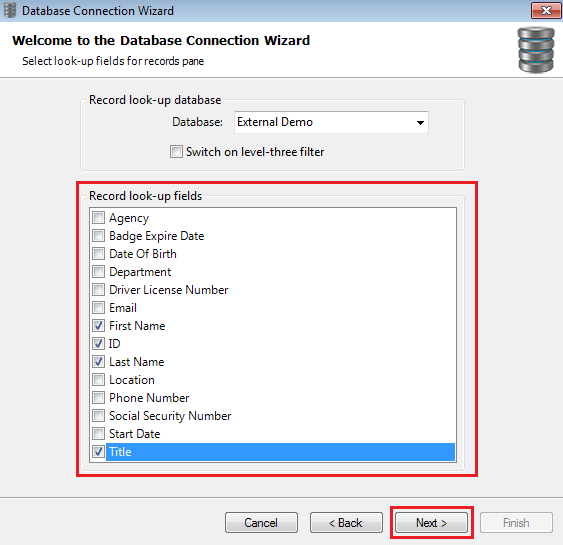
- Check the boxes for the fields you want shown in the Record Look-Up Field section. This should include any field you want to use to sort or search records. Click Next.
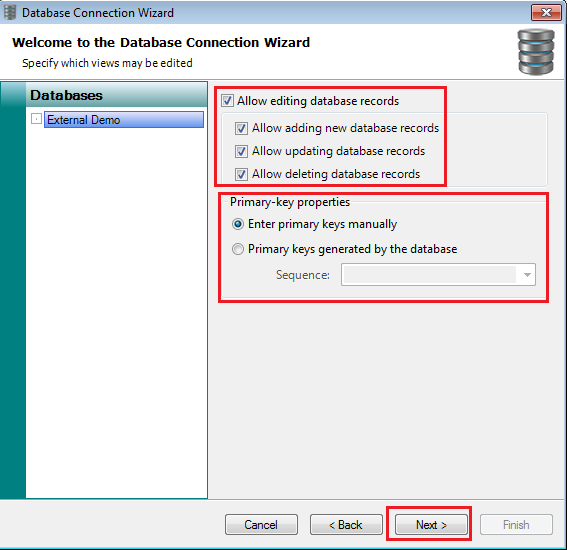
- If you want the software users to be able to add, update, or delete records, check the Allow Editing Database Records box. Do note that, depending on your type of database, not all of the editing options may be available. Next, select if you want to enter the primary keyfield manually or have the database generate it. ONLY select Primary Keys Generated by the Database if the primary key is both sequential AND numeric. Click Next.
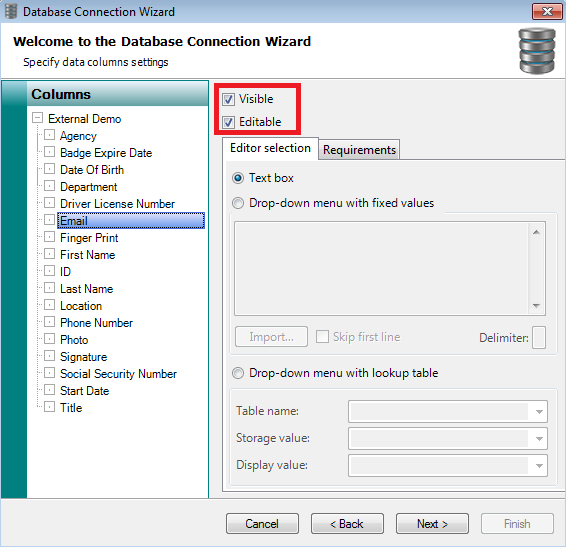
- This window allows you to control which fields from your database are visible or editable in AlphaCard ID Suite. Go through the list of each field in your database and check or uncheck the boxes for Visible and Editable. Click Next.
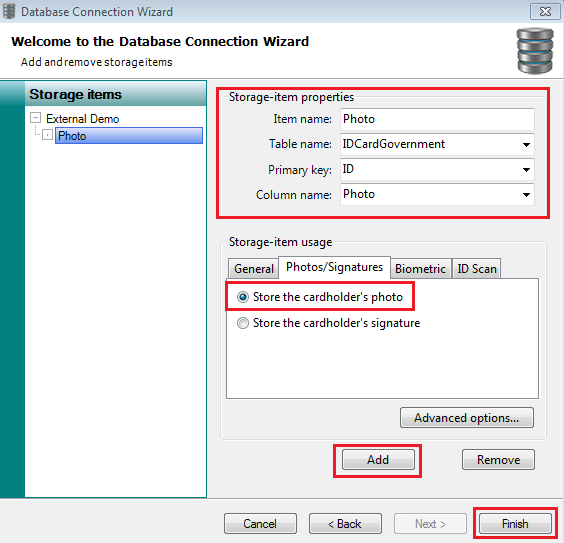
- The last step in the Database Connection Wizard is to set up a storage item if you are storing cardholder photos directly in the database. Please note, ONLY Access and SQL databases allow images to be stored in the database. To set this up, click Add. Fill out the Item Name as Photo, and then select the correct table in your database, as well as the Primary Key and Column Name you want the data stored in. Then select the Photos/Signatures tab in Storage Item Usage and select Store the Cardholder’s Photo. Click Finish.
- Click Finish on the Template Definition Wizard screen.
Mapping your Database Fields
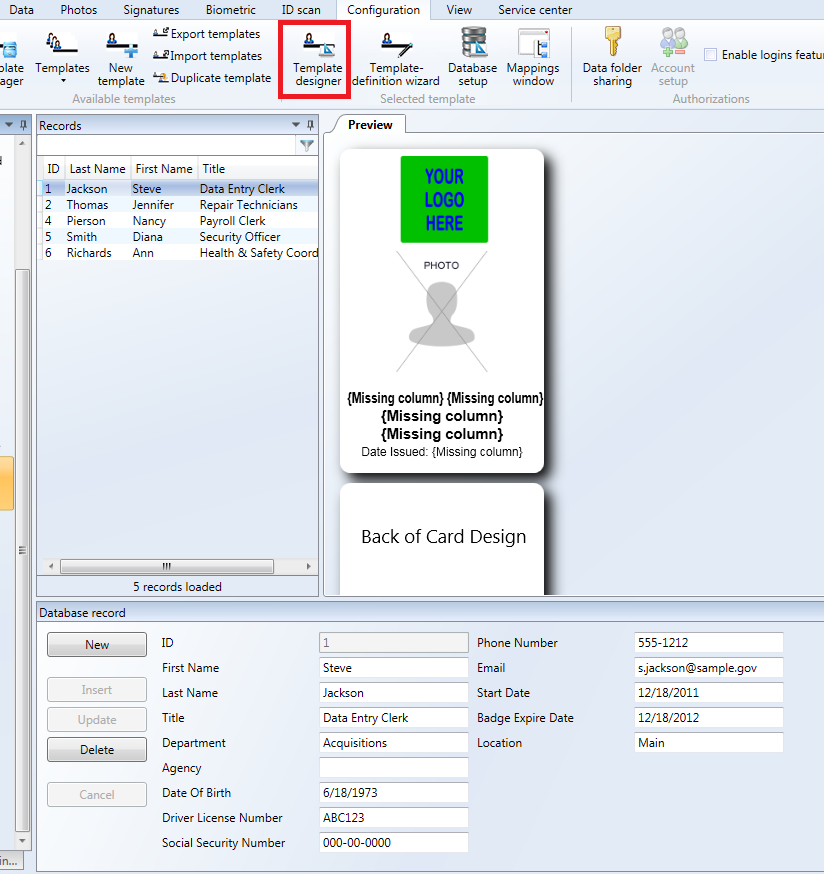
Now you should be back on the main screen of the software and you should see your updated records. Your design will have missing columns now instead of the cardholder information. The next step is to update your template to reflect the new fields in your newly connected database.
- In the Configuration tab, select the Template Designer.
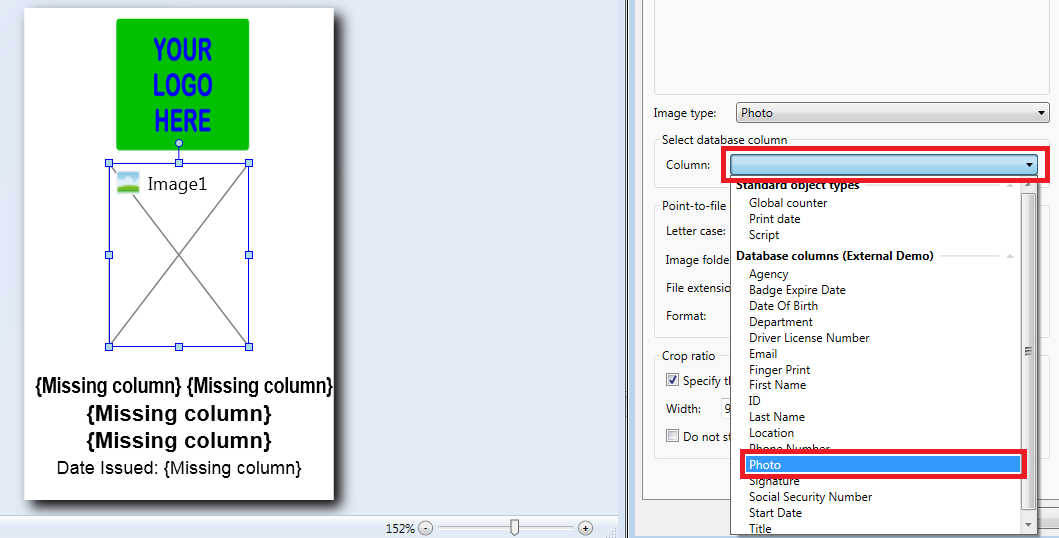
- Click on the first object you want to update, then locate the blank dropdown menu in the Content tab of the Properties menu. Select the correct database field. Repeat this process with every variable object on the card.
- Once you have remapped all of your variable object fields. save the template and exit.
Your card template should now be using the data from the new database and the preview of the template should show all the information correctly. If you continue to experience problems, please contact AlphaCard technical support.