Setting Up Sign In Documents in Secure
With AlphaCard Visitor Pass Secure you can ensure that your company has every visitor sign required documents, such as a non-disclosure agreements or insurance/liability waiver forms, prior to entering the premises.
Creating Sign In Documents
AlphaCard Visitor Pass uses Microsoft Word documents as a template for the sign in document. To begin you have to create a Microsoft Word document that can link into AlphaCard Visitor Pass, then you have to set up conditional fields within that Microsoft Word document.
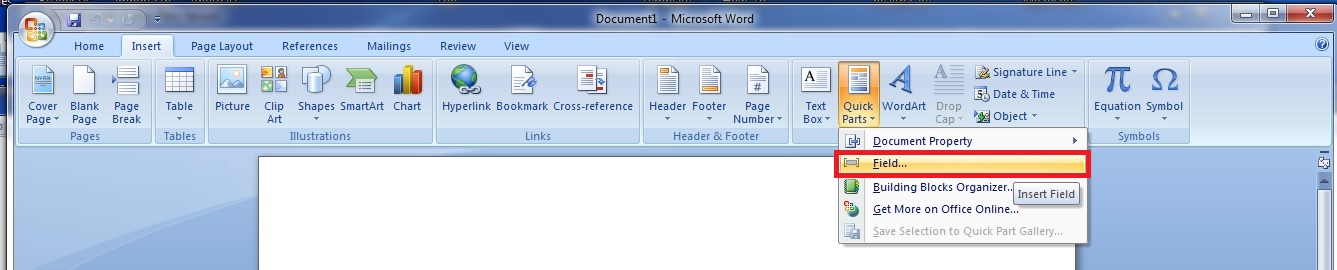
- Open your Microsoft Word document and go to the insert tab.

- Click the Quick Parts button.

- Select the Fields sub-menu.
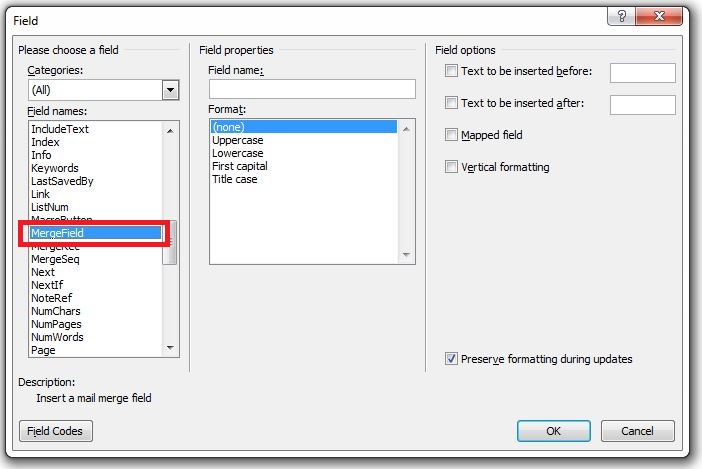
- In the Insert Field menu, select the MergeField option in the left hand menu.
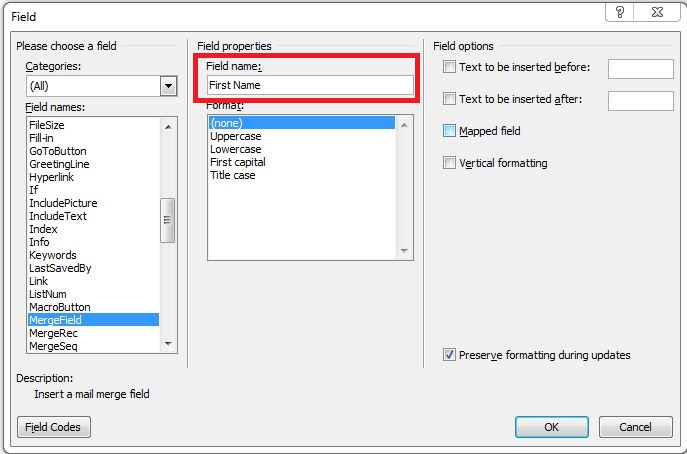
- Type the name of the field you want to link. The names do not have to match, the name of the field is more for your reference than anything else.
- Check the Field Options box for Mapped Field. This will prompt AlphaCard Visitor Pass to map a database column into the sign in document. Then Click OK.
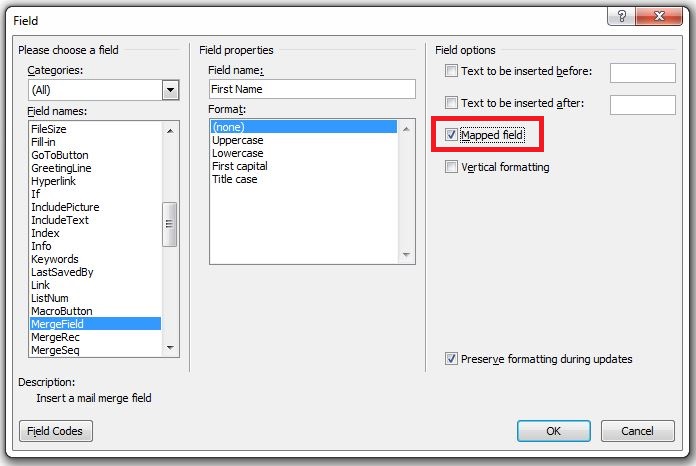
- Once you have clicked OK, Microsoft Word will insert a field that AlphaCard Visitor Pass will auto-populate with the correct visitor record information.

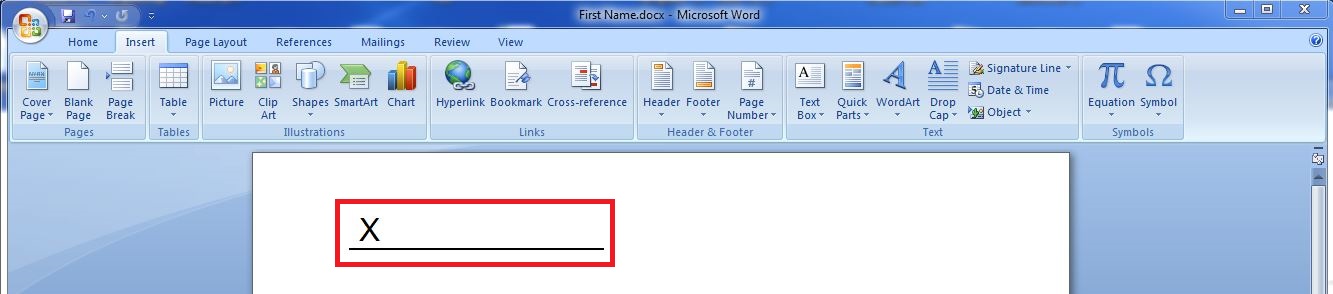
- You can also insert a signature line that will automatically prompt for a signature from the visitor upon check in. To do so, Go to the Insert Tab.

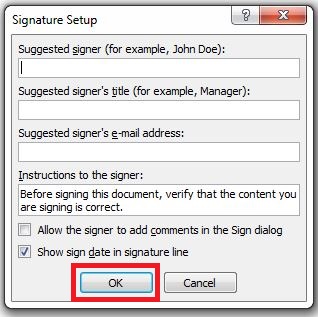
- Select the Signature Line option. Do not change any options.


Once the document has been created, the next step is to load it into AlphaCard Visitor Pass Secure. How to load documents into AlphaCard Visitor Pass.
If you continue to experience problems, or have questions about your AlphaCard Visitor Pass software, please contact AlphaCard technical support.