Setting up Signatures in Standard
Signatures are often used as badge authentication or as an agreement between the visitor and the facility they are visiting. AlphaCard Visitor Pass allows you to collect signatures in the database and use them in your badge designs.
Setting Up Signatures
Please Note: If you have not already installed the signature pad drivers, please see do so before taking any other actions.
If you only want to collect signatures for your records then you are done, the installation of the signature pad is all that AlphaCard Visitor Pass requires for storing a signature image into the database.
To add a signature onto your badge design, you need to take a few more steps.
- Go to the Configuration tab.
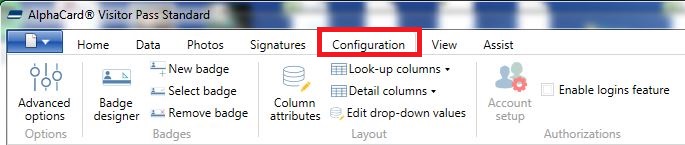
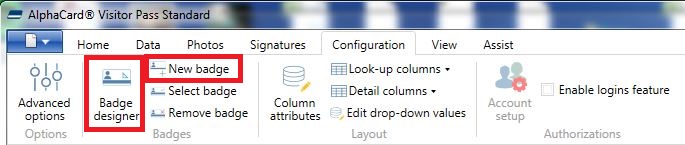
- Select the Badge Designer option if you are editing an existing design, or New Badge if you want to design a completely new badge.
- To add the signature onto the badge, click on the Inset tab.

- Click on the Image button. Then click on the card where you want the signature.

- On the Insert New Object dialogue box, select the signature option from the object type box. Then select the signature database field from the Column drop down field. Click close to add the object to the card.
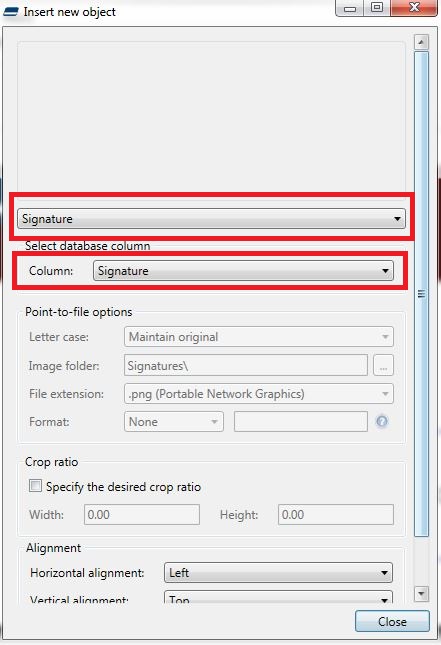
- Once it is on the card, close and exit out of the badge designer. The image in the signature database field will now be displayed and printed on the card.
If you continue to experience problems, or have questions about your AlphaCard Visitor Pass software, please contact AlphaCard technical support.