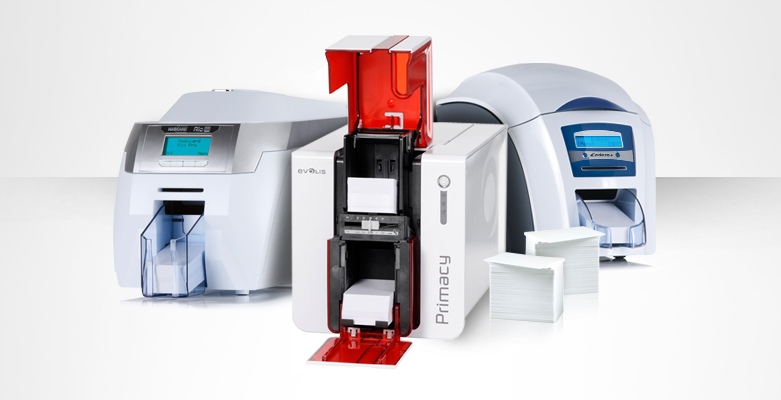
While it may seem like a no-brainer task, the way in which you insert your blank ID cards into your ID printer’s hopper has a big impact on how your ID cards turn out once printed. If done carelessly, it’s likely that your fingerprints will get onto the ID cards and you’ll have to start from scratch. The oils in your fingerprints greatly affect the print quality, so you want to ensure you place your ID cards in the hopper correctly and slowly. Believe it or not, fingerprints can show up on a card during the printing process. Of course you don’t want that! So, make sure you’re handling your cards correctly.
First, you’ll need to take the card hopper out of the printer to insert the number of cards that the hopper allows. So if you have a 100-card hopper, you don’t want to go over that number. To do this is easy — you’ll simply lift it up to unlatch, and then pull out the clear container (that’s typically what a card hopper looks like) towards you. Just so there’s no confusion, the card hopper is usually in the back of the printer. Some printers’s card hoppers — like the one shown — cannot be taken out of the printer to load the cards. You’ll simply lift up the hopper latch, and place your cards directly into the hopper. There are a few different card hopper placements on ID printers, but they’re all essentially similar in design and are meant detach easily and be placed back in with ease.
Next, take a stack of cards (for example, if you bought an order of 100 blank ID cards and you know the exact count), and place your thumb on one side of the card and your index or middle finger on the other side, holding onto the edge of the stack of cards. This will prevent your finger prints from getting onto the cards. If you simply place them in one by one and pay no attention to where your fingers are placed, it’s likely that you’re going to end up with unwanted marks on your cards.
Now you’re all set! Make sure to insert the card hopper back into the printer, which makes a satisfying “clicking” sound when it’s in entirely, and from there you can begin printing!


