How to Create and Use Events in Standard
For better organizing your check in process, AlphaCard Visitor Pass allows you to create and manage events. If you need to limit access for security reasons, you can even set the event only allowing pre-registered visitors to check in.
How to Create and Use Events
To begin, click on the Event tab at the bottom of AlphaCard Visitor Pass. This will allow you to see all of your existing events and creating new events.

To create a new event, click on the New Event button in the top left hand corner.

From here you can:
- Name the event
- Set a start date
- Set an end date
- Set earliest check in allowed
- Set badge expiration date
- Set an event description
- Select invitees
- Select invitees by groups

To create your new event and set up these event details, follow these steps.
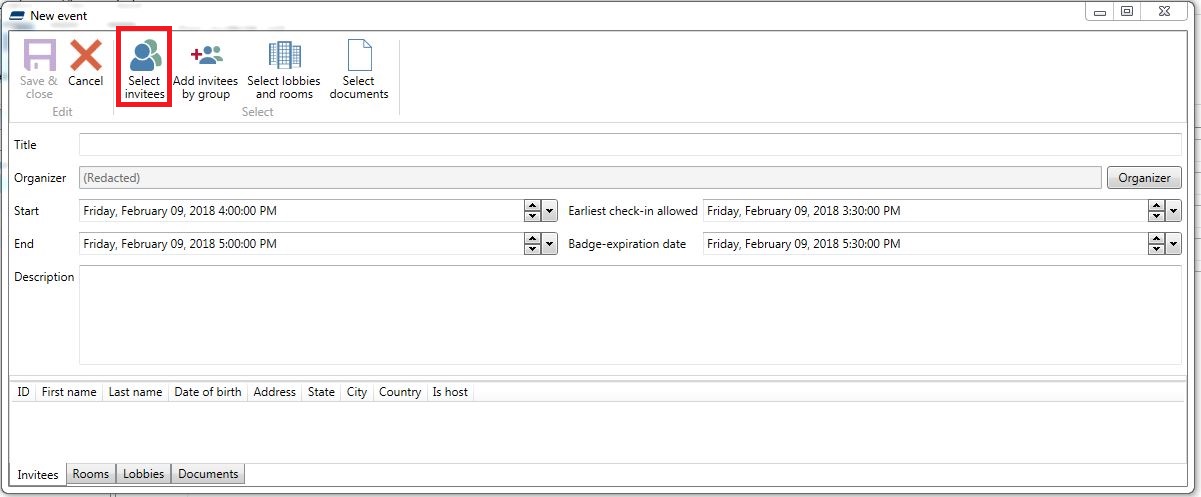
- The main body of the event creation screen will allow you to name the event, create a start and end date, and write an event description.

- We recommend filling out the title as specifically as possible. The title of the event will appear in AlphaCard Visitor Pass whenever a report or a login happens.

- The start and end time limit the exact time frame when a visitor can check in. If they are early, the system will not check them in. The Earliest Check-in allowed is the earliest a badge holder can check in. Badge-Expiration allows for displaying a warning if anyone with an expired badge is still checked in after the badge-expiration date.

- The description section is completely for your use, it does not appear anywhere else in AlphaCard Visitor Pass.

- To add visitors to the event as invitees, click the Select Invitees button on the top of the screen.
- The invitee window will open and you can add invitees to the event or create new visitors by clicking on the New Visitor Icon.

- For ease, you can also invite entire groups to the event by using the Add Invitees by Group button.

- You can then select the group that you have setup previously. You can find instructions here. Setting Up Visitor Groups.This will automatically add the entire list of visitors in the group to the event.

- Once you are done, simply Save and close your event screen. You should now see the event added to the list.

- When you go back to the main visitors portion of the screen, all pre-registered visitors will show up with a specific color marking.

- Now when you check them in, instead of seeing that they checked in for an incidental visit, you will instead see your event name displayed.

If you continue to experience problems, or have questions about your AlphaCard Visitor Pass software, please contact AlphaCard technical support.