Setting up Magnetic Encoding using Entry
While using magnetic encoding is rare in visitor management situations, AlphaCard Visitor Pass does allow you to encode your badges, which can be read into the software either as a search field or as a barcode replacement.
Setting up Magnetic Encoding
Please Note: Encoding cards with magnetic data requires a printer that is capable of magnetic encoding. If you are unsure if your printer possesses these capabilities, please contact the company you purchased your printer from.
- To add a magnetic stripe to the card, go to the Configuration tab in the software.

- Click on Badge Designer if you are adding the magnetic stripe to an existing badge design, and New badge if you are creating a new badge.

- In the badge designer, click on the Page Layout tab.
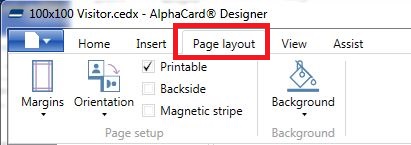
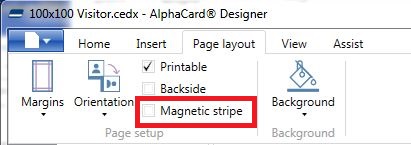
- Then check the box for Magnetic Stripe.
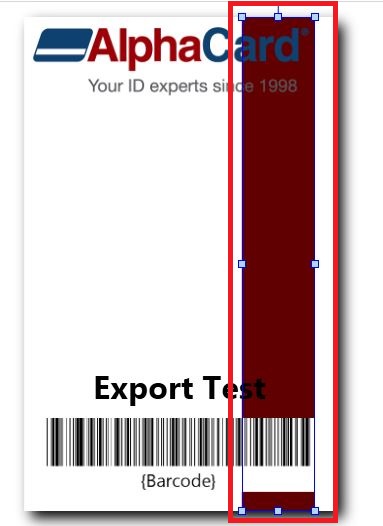
- Once the magnetic stripe is on the card, select it.
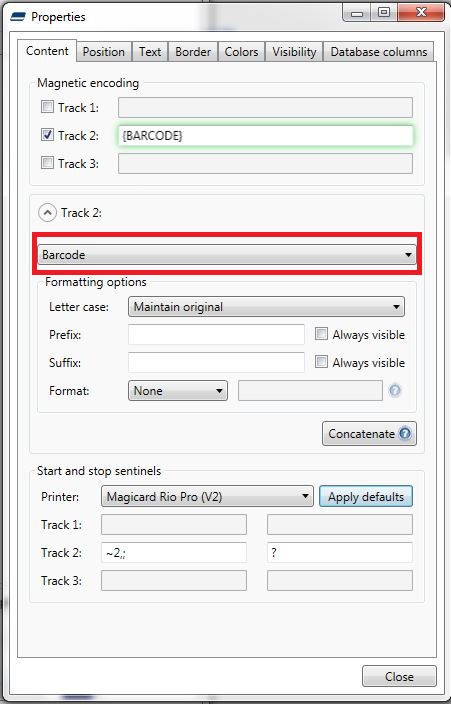
- In the Properties windows off to the right, under the content tab, check the tracks that you want encoded.
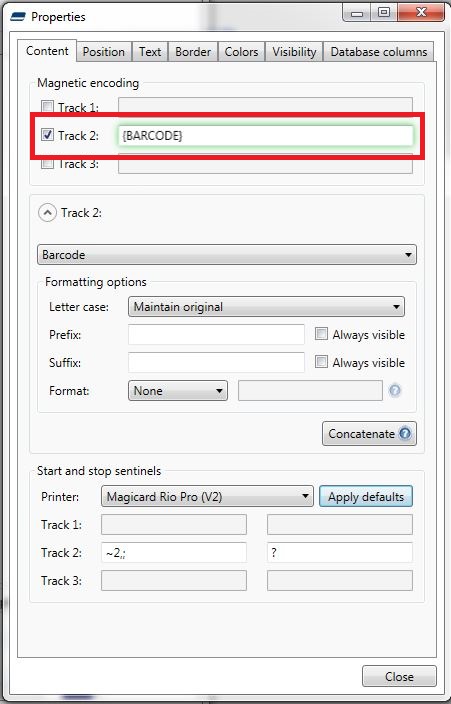
- Link the track to the database field you want encoded onto the card. This can be anything that you want, as long as the columns data conforms to the limitations of that track.
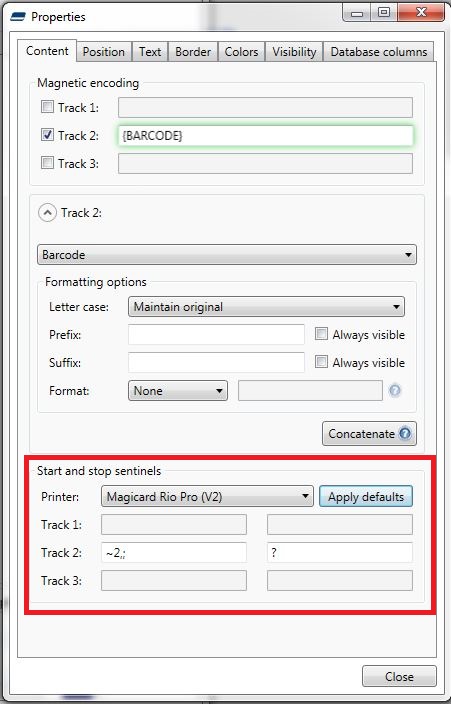
- Last, select the printer that you are going to be encoding on and click apply defaults. This will allow the printer to read and encode the data normally.
Once you are done, close and save out of the badge designer. Now AlphaCard Visitor Pass will send encoding data to your printer, based on the template changes you just made.
If you continue to experience problems, or have questions about your AlphaCard Visitor Pass software, please contact AlphaCard technical support.