Getting Started – Using the Starter Template
After you have imported the Starter Template into your AlphaCard ID Suite software, you will be on the main screen of your software. Understanding how this screen is organized, and where to access different features, will make it easier to use your software as you design and print your cards.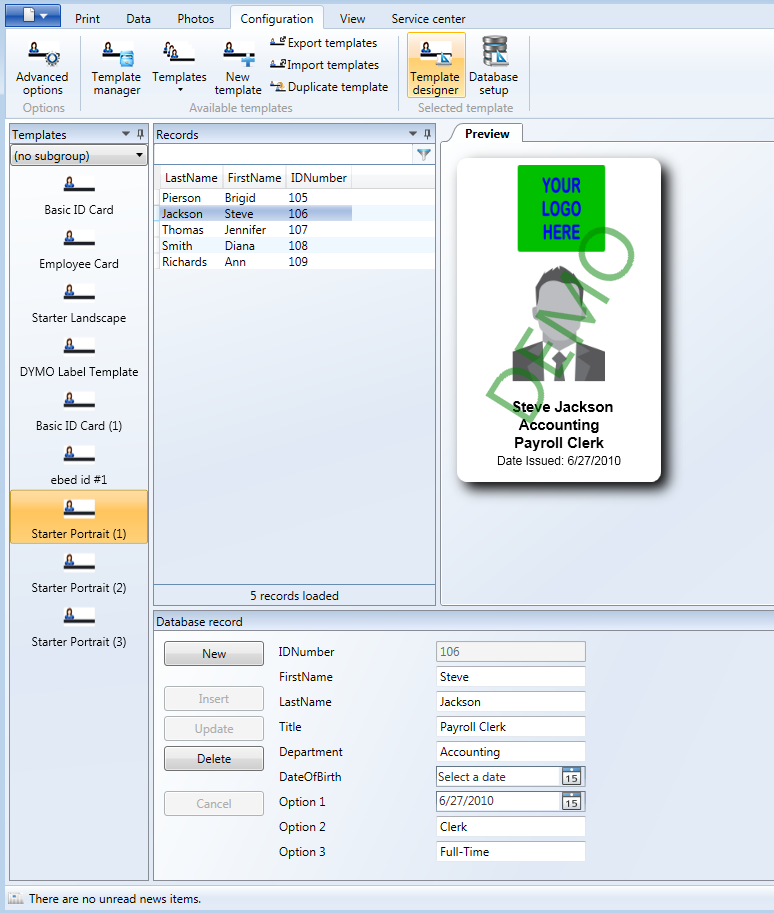
AlphaCard ID Suite Main Screen Organization
The main screen in AlphaCard ID Suite is divided into four sections:
First, the templates section which shows all your loaded card templates. You can switch between these at any time by clicking on the template you want to use.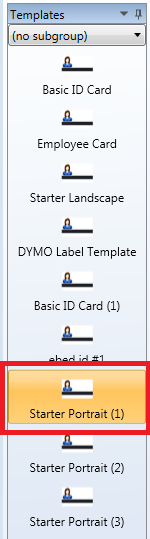
Second, the Records section shows the full list of cardholders saved in your database. You can click on any of these records to preview, edit, or print their card.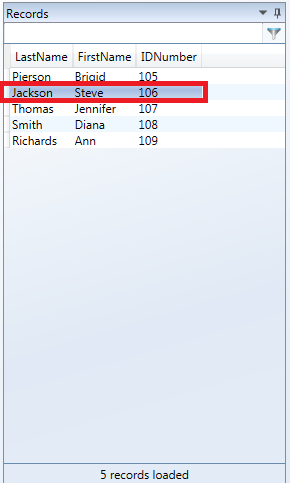
Third, the Database Record section shows all of the information you have stored in the database for the record you currently have selected.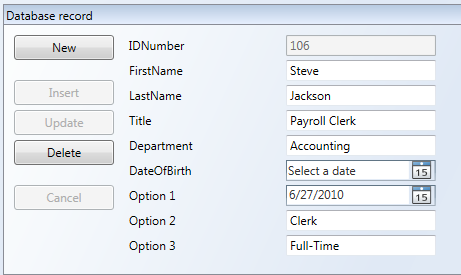
Finally, the Preview shows you the card for the record you currently have selected.
The information in the database is linked into the template, which allows you to define what information from the database goes where on the card. You can also have information in the database that does not appear on the cards, which is useful for identifying cardholders, storing additional information, or searching records.
How to Edit an Existing Template
After you’ve imported a starter template (you can download them here), you’ll want to edit the template to meet the needs of your organization.
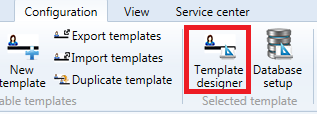
- To start editing an existing template like the Starter Template, select the Template Designer.
- Click on any object within the card to select it. The selected object will have a series of blue boxes on its corners – these boxes allow you to click and drag an edge to resize the object. To move an object, simply click on it and drag and drop it to where you want.

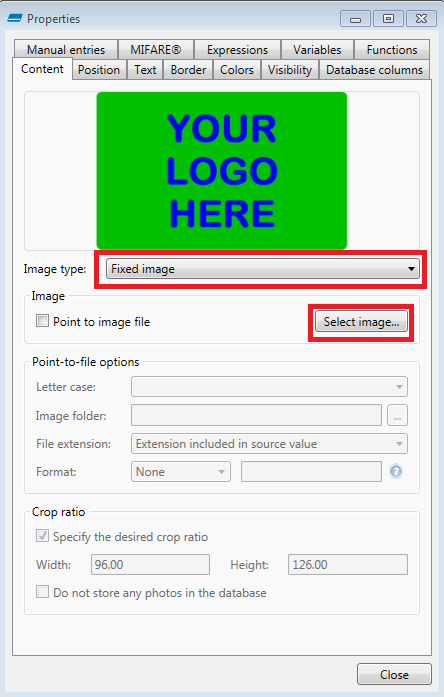
- For example, you can change the logo image on the Starter Template. Click on the logo object in the card. Off to the right side of your screen, a Properties window will open with all the information about the logo. The logo is a Fixed Image Type, so it will show up on every card you print with this template. You can replace the logo at any time with another image by clicking Select Image and browsing to the new image – but it MUST be an image file (.jpg, .bmp, .png) and not a PDF or Word document.
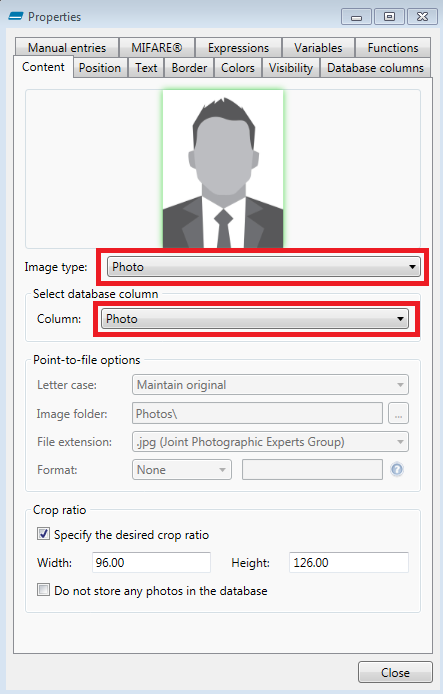
- You can also change the photo object. Click on it to open the Properties window. This object is currently set up as a Photo Image Type, which allows you to directly capture or import cardholder photos into the connected database. Because this object is tied to your database, it will change with each record. You just need to add a photo for every record you want to print.
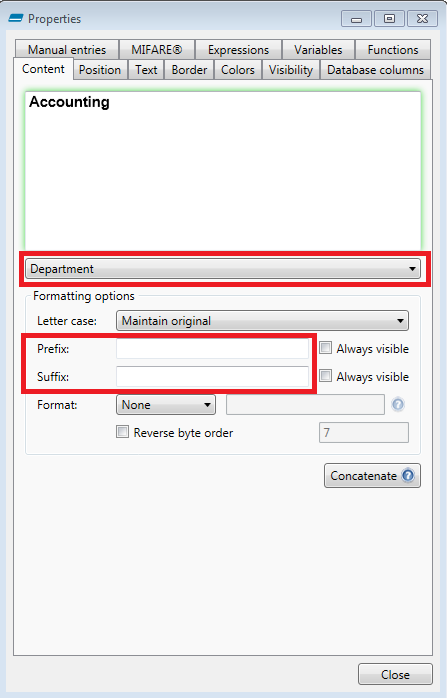
- You can also change any text field on the card. Click on any field that is NOT the name field (we’ll go over that special field later). The text object works in the same way the photo object worked – it pulls in information from your database. If you want to change what information is in the text field, select a new database field from the dropdown menu. Alternatively, if you want to add additional fixed text that isn’t pulled from the database, simply enter the text in the Previx (if you want it to show up before the database information) or Suffix (if you want it after) box. This text will be on every card, so it is best used as an information identifier, such as Date Issued: in front of the issue date pulled from the database.
- The Text tab in the Properties window for text objects also has common design options for formatting your text fields. This allows you to change the text font, the size, and more.
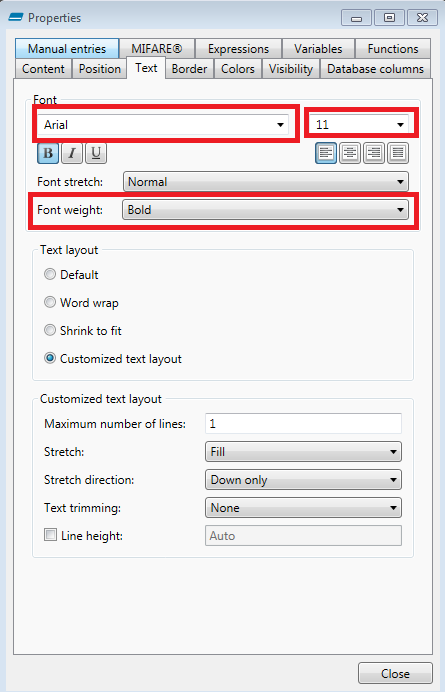
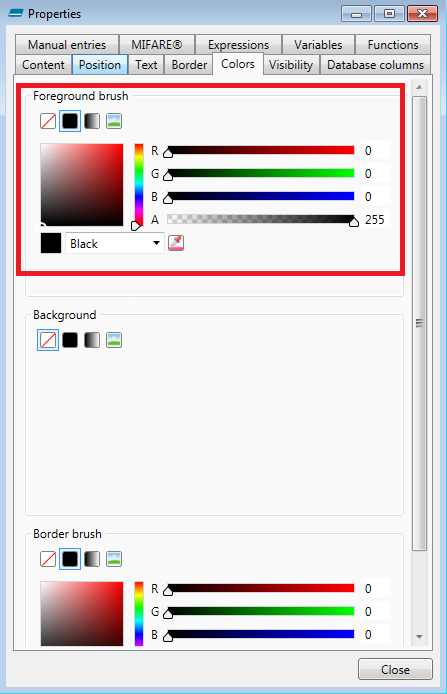
- The Color tab is where you go to change the color of your text. You can either set the RGB value directly, or choose from a drop down of commonly used colors.
How to Edit an Existing Template – Name Field
As you have seen in the editing steps above, all of these text objects are are single database field with an option fixed text field that may bracket the database information. The exception to this setup is the combined First and Last Name object.
Click on this object to open the Properties window. In the Property window, the value is set to a new data type – Concatenation. A concatenated text object is simply a way to combine more than one database field into a single text field. If you click one of the down arrows next to Concatenate Field, it will expand to show all of your options.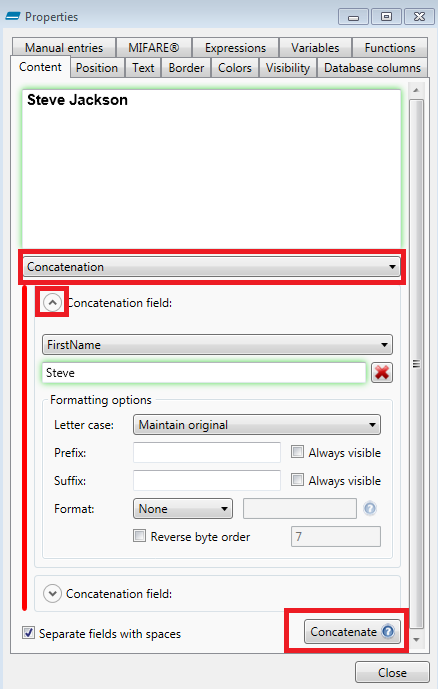
These options are the same as a normal text object – it pulls in the data from your database. You can control which database fields are linked to the text object, and set any prefix or suffix text.
To add a field to the concatenated object, click Concatenate in the bottom right of the Properties window to select the database field you want to add.
Saving Your Template Changes
Once you are done making the changes that you want to your Starter Template, go to the File button in the top left hand corner of the screen and select Save. Then close the template designer.
Alternatively, you can close the designer and it will ask you if you want to save your changes.
Once you exit Template Designer you will want to go back to the Database record section of program to add any new records to your database. There will be four options off to the left side of the Database Record window: New, Insert, Update and Delete.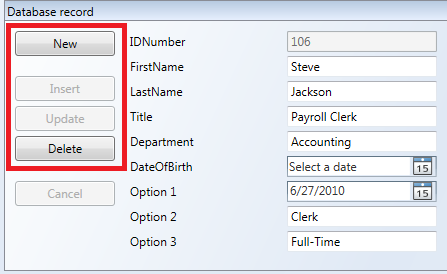
To create a new record click New, enter in the new cardholder’s information, then click Insert when you are done. If you want to edit an existing record, select the record in the Records list, and then type into the field you want to change, and then click update.
Please note: All changes you make to this dialogue are saved automatically to the database. If you accidentally delete a record, you will have to recreate it manually.
With these steps, you are now able to design and use AlphaCard ID Suite to make and edit simple card templates.